

Francesca's Marble Cake
This is the one to keep: moist, marbled, made with olive oil and yogurt.

This is the kind of cake every home cook should have in their back pocket. It’s not fancy. It’s simple, but precise. Cakes like this carry a quiet kind of comfort. One slice in the afternoon, maybe standing at the counter, maybe with coffee. It’s the sort of recipe that settles in — something you’ll reach for again and again.
Enjoy,
Dilara
Over the years, I’ve spent time in and around restaurant kitchens. Long enough to pay attention. Always close enough to learn something.
That’s how I met Francesca. She was the pastry chef one summer while I was photographing dishes and prep. She’d worked in kitchens around the world, and her desserts were exactly what I like—never too sweet, always prepared with precision.
One day, while she was piping lemon cheese cream into bomboloni, she told me about frittelle—essentially bomboloni, but bigger. In some parts of Italy, they’re made as large, rustic rounds of leavened dough, stretched and fried. Very nonna-style. Made during communal baking days or family gatherings—tied to tradition, and to that deeply lived-in Italian sense of occasion.
Another afternoon, she made maritozzi filled with hazelnut gelato and Nutella. She mentioned how her grandmother used to make something similar when they were little. The memory added something. So did the bite.
We’ve stayed in touch, as kitchen people tend to do. So when a friend asked me for a marble cake recipe for her son, I texted Francesca.
She sent me her base recipe. I scaled it for home cooks. The result is a light, structured cake that holds its swirl and keeps beautifully. You can take the base in a dozen directions. But this version—vanilla and cocoa—is a good place to start.
The batter comes together easily, and if you pay attention to a few details — how you stream in the oil, how you swirl the cocoa — it rewards you with a soft, marbled crumb that stays tender for days.
Francesca's Marble Cake
Serves 4
TOOLS
A stand mixer or a hand mixer
23x13cm cake pan
INGREDIENTS
150 g eggs (3 large)
245 g granulated sugar
170 g olive oil
140 g whole milk
30 g (2 tbsp) full-fat yogurt
1 tsp vanilla extract
323g all-purpose flour, sifted
12 g baking powder
¼ tsp fine sea salt
Cocoa Bloom:
25g unsweetened cocoa powder
30g hot milk
20 g hot water
Soaking Syrup:
50g water
40g sugar
METHOD
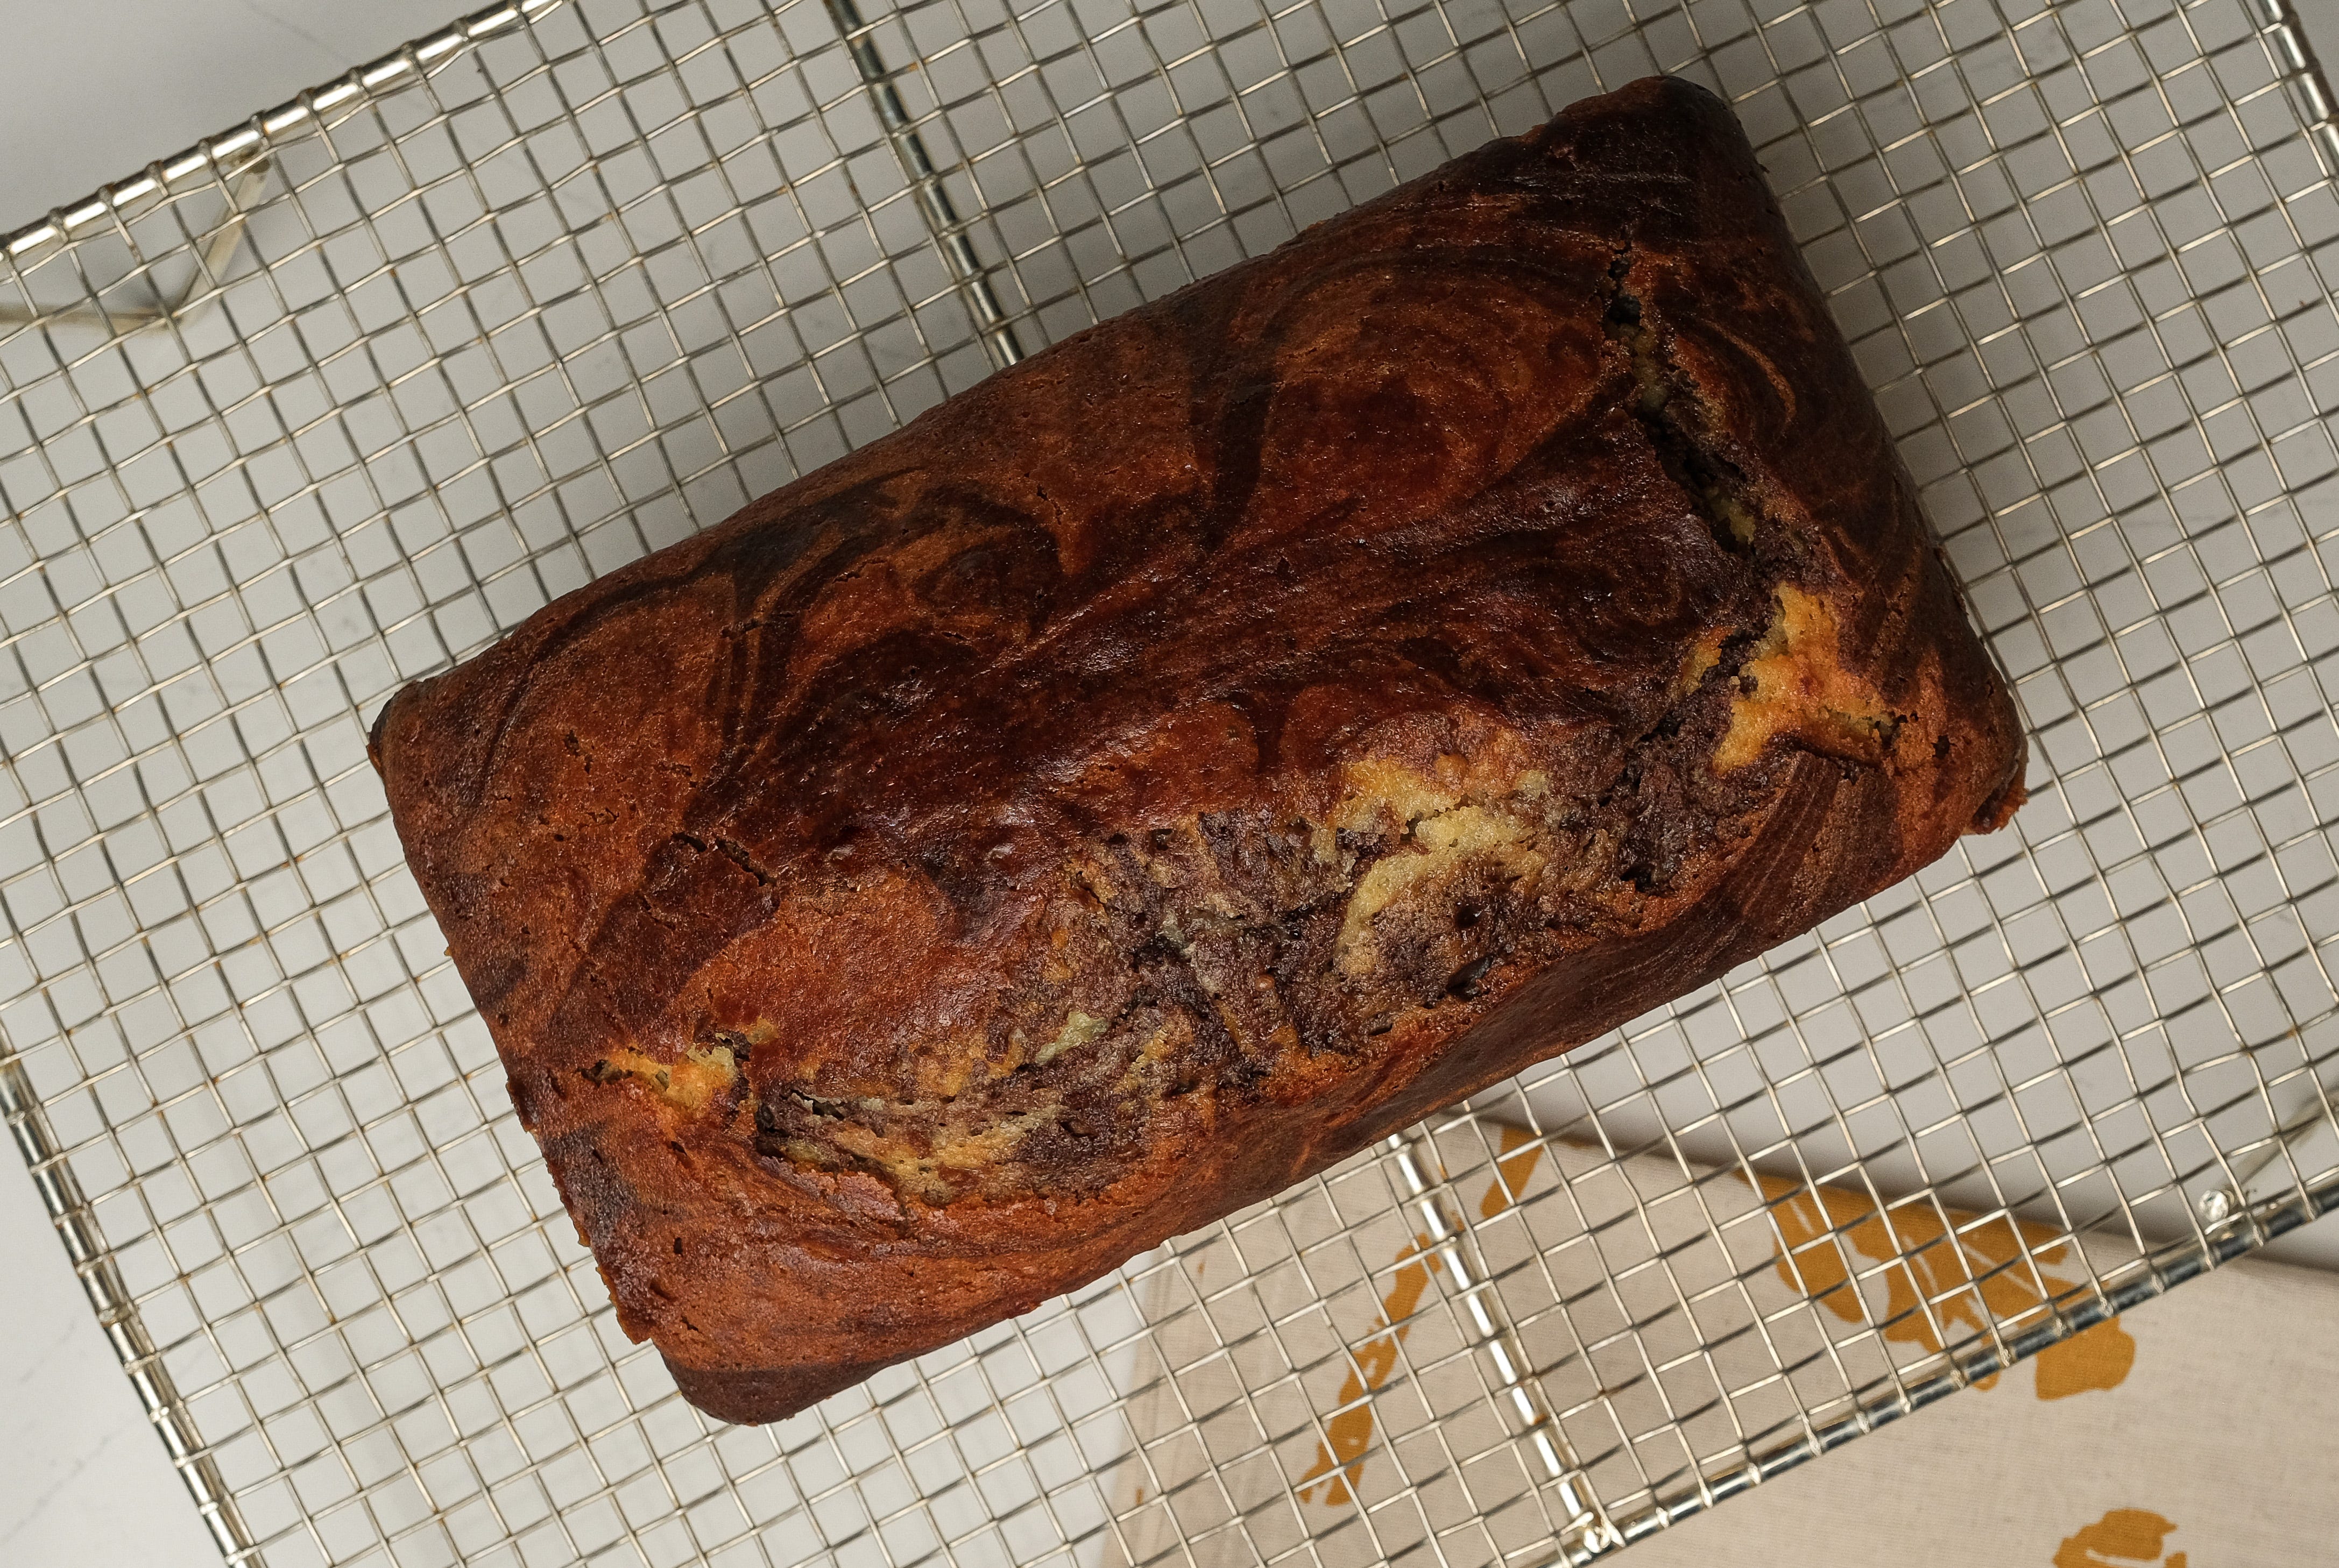
Preheat the oven to 175°C, no fan. Grease and line a 23x13 cm loaf pan with parchment, leaving a 5–6 cm overhang for easy unmolding.
In a stand mixer fitted with the paddle attachment, beat the eggs and sugar on medium-high speed until pale and slightly thickened, about 3 to 4 minutes. Reduce speed and drizzle in the olive oil slowly—like making mayonnaise—until fully emulsified.
Lower speed again. Add the milk, yogurt, and vanilla. Mix briefly to combine.
Sift together the flour, baking powder, and salt. Add to the batter in two or three additions, mixing just until combined. Scrape down the bowl thoroughly.
Transfer 450 g of the batter to a separate bowl. Bloom the cocoa powder with hot milk and hot water (60–70°C) until smooth. Stir into the reserved batter until fully incorporated.
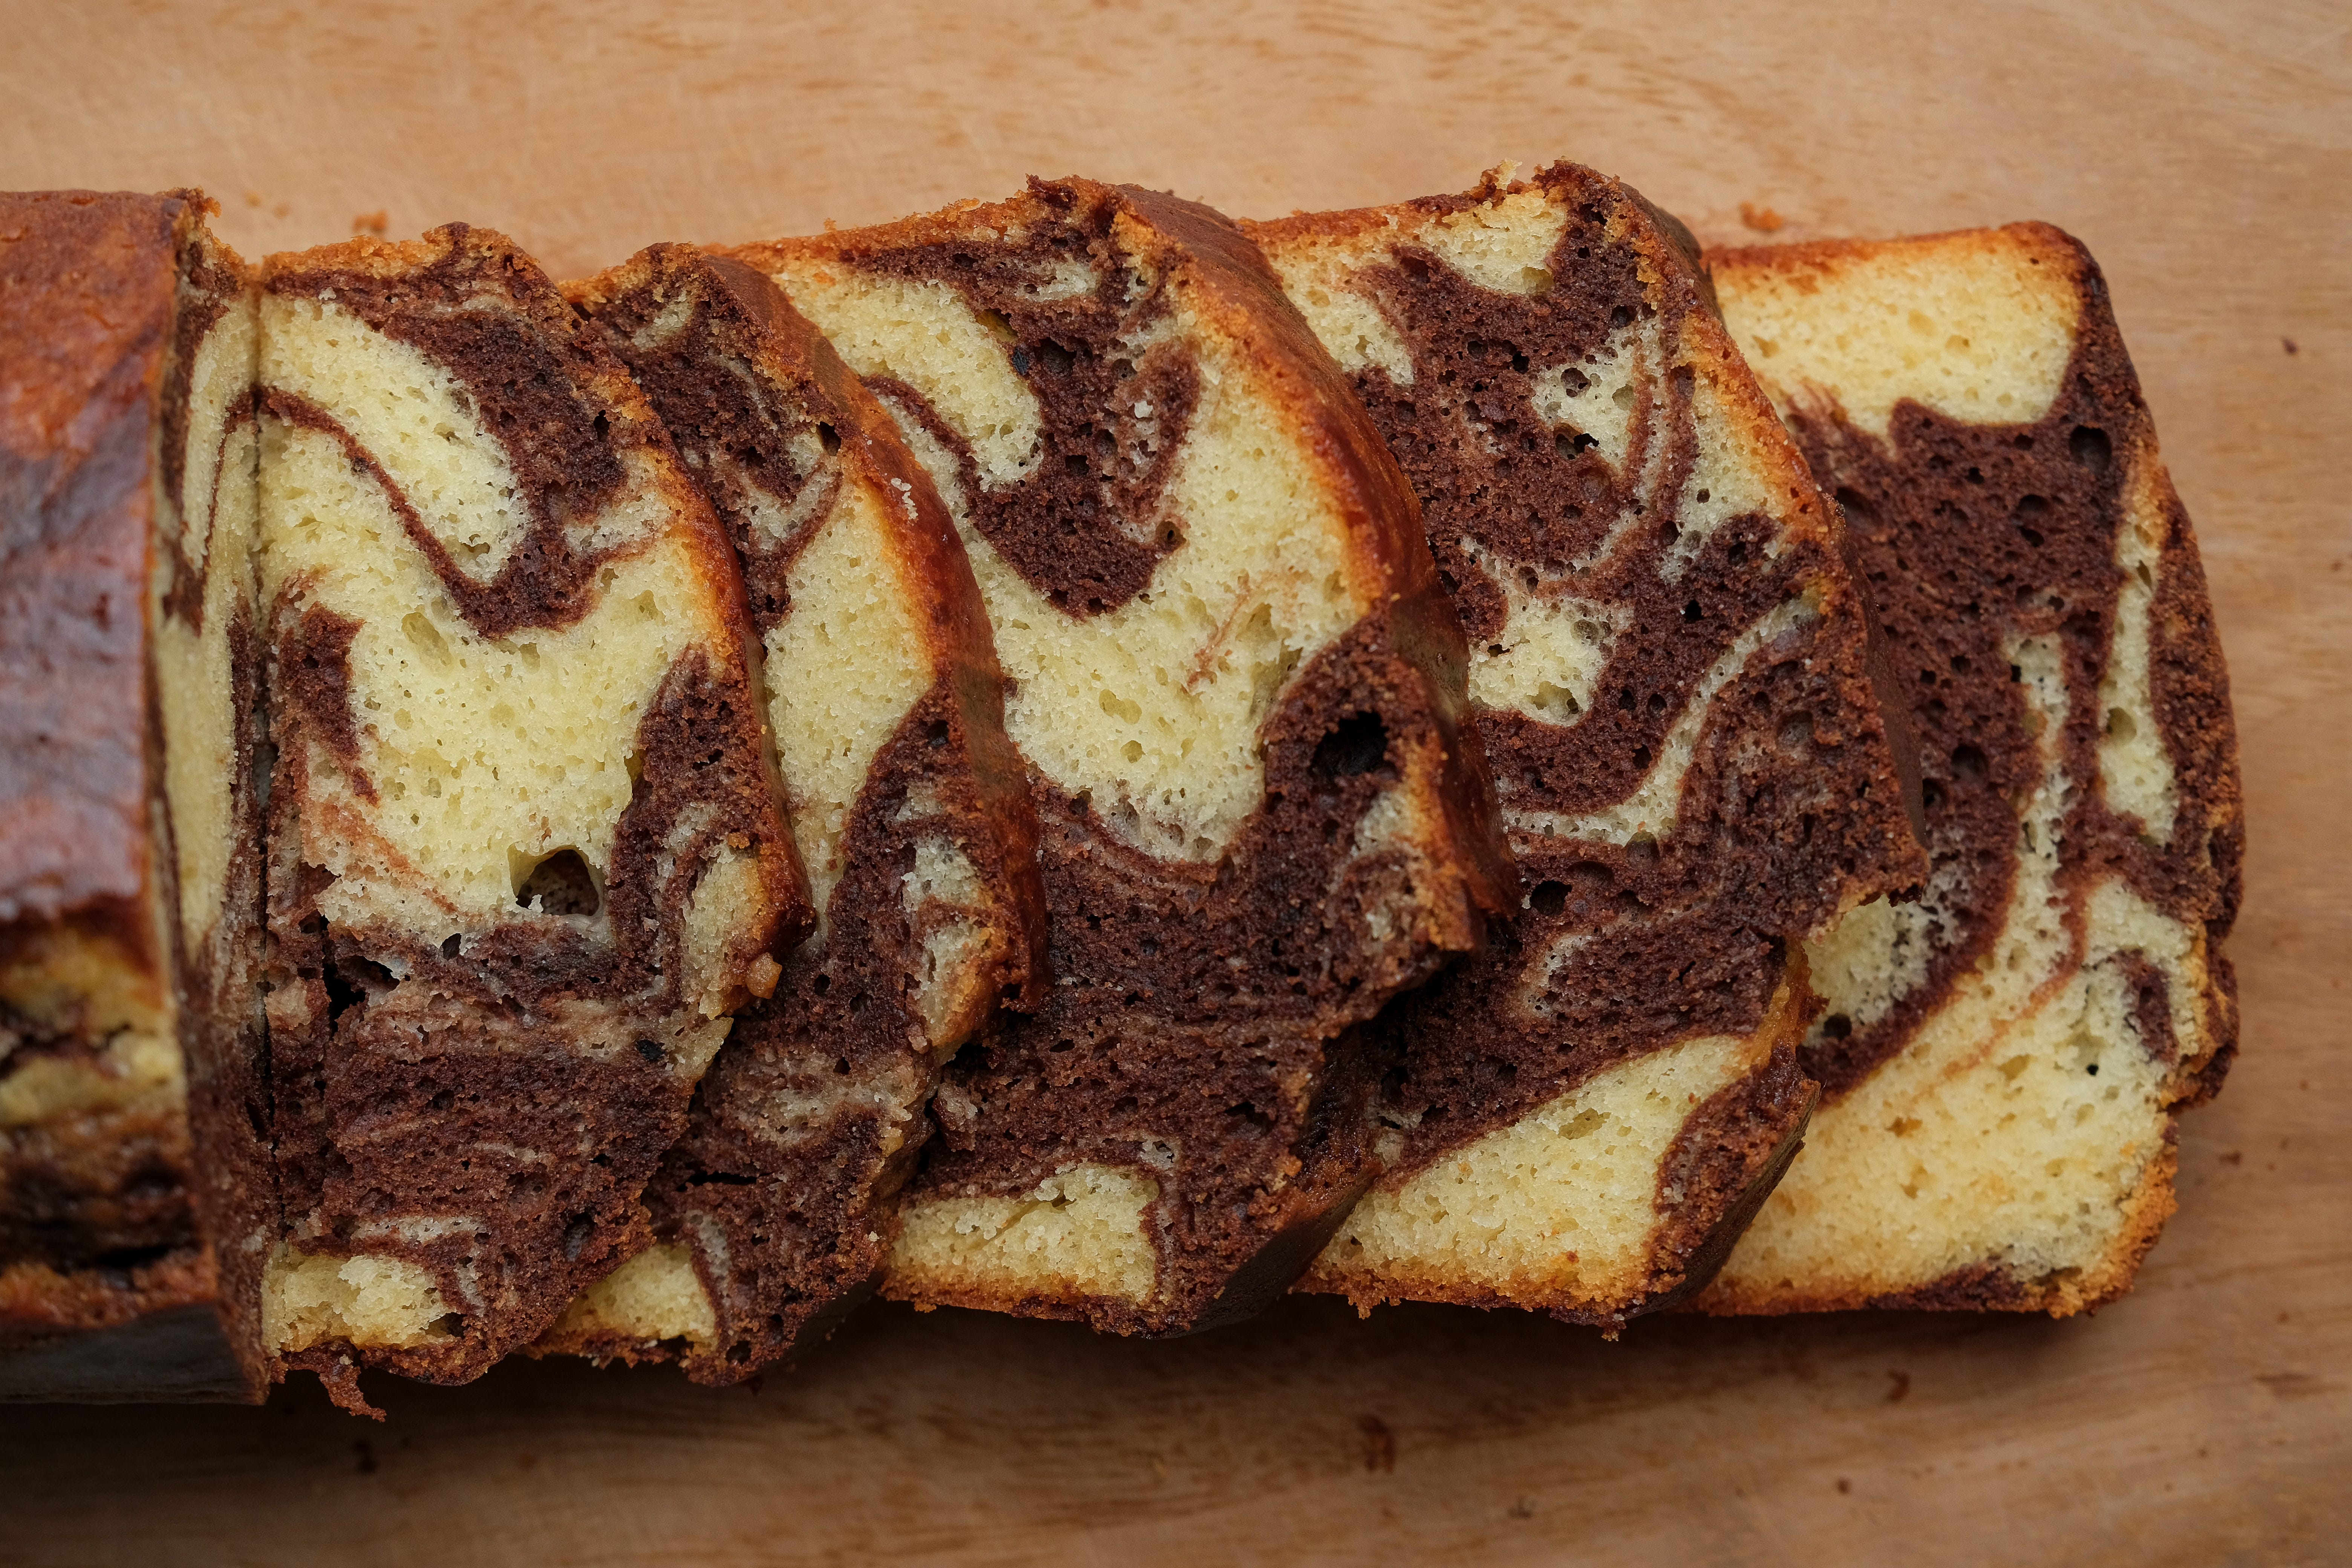
Layer the vanilla and cocoa batters into the prepared pan. Swirl gently using a skewer in a shallow figure-eight, staying close to the surface for visible marbling. Smooth the top and tap the pan on the counter to release air bubbles. Score a thin, shallow line down the center with a buttered knife to guide the crack.
Bake for 50–60 minutes. Begin checking at 50. It’s done when the top springs back to touch, no longer jiggles, and a skewer comes out with moist crumbs (not wet batter).
Cool in the pan for 10–15 minutes, then unmold onto a rack.
If using syrup, brush it on while both the cake and syrup are still warm. Drizzle slowly and evenly—use a pastry brush to help the cake absorb without becoming soggy or sticky.
Let cool completely before slicing. For best flavor and texture, wrap well and let rest at room temperature for 6–12 hours before serving.
Storage:
Wrap the cake in plastic and store in the fridge for 3-4 days or in an airtight container at room temperature for up to 2 days.
Kitchen Notes:
The skewer test is your compass — look closely. Moist crumbs are fine. Wet batter means wait.
Let it cool fully before slicing to avoid a collapsed crumb. Even 20 minutes of patience makes a difference.
Never wrap while warm—steam ruins the texture.
Don’t pour boiling syrup or too much of it—less is more.
Afiyet olsun!
CURATED ESSENTIALS
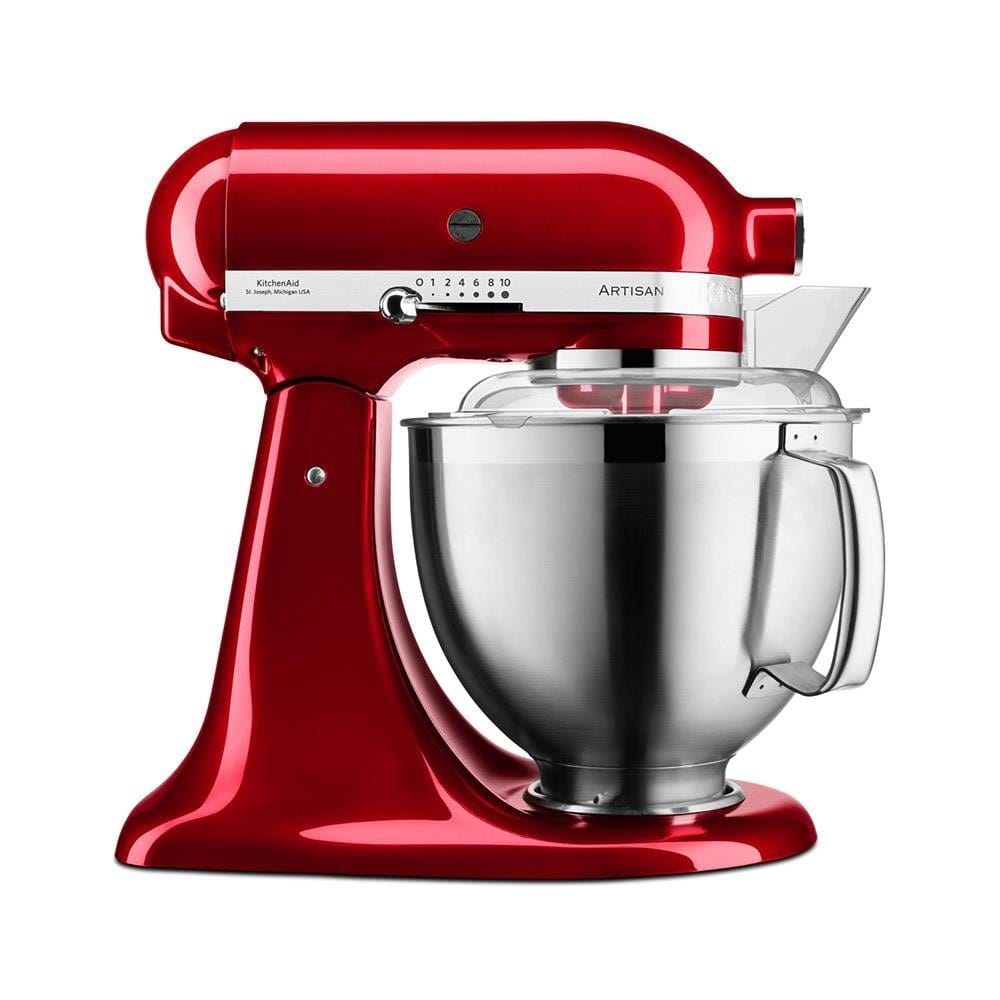
KithenAid Stand Mixer
If you bake regularly, this is the tool that shifts the entire experience. It’s about consistency, yes—but also pace. Your dough kneads while you prep the filling. Your cake batter emulsifies while you tidy the counter. It gives you time, and gives you better results.
It’s also become an icon. There’s no need to tuck it away—this is the kind of tool you can leave out, proudly. Solid, simple, and designed to last. It’s both a kitchen essential and a quiet statement piece.

Silicone Spatula
One of the most used tools in my kitchen. It scrapes, stirs, folds, and never complains. The flexible head makes it great for thick mixtures like nut butters or batters, and it doesn’t scratch pots or waste food.
BPA-free, heat-resistant, easy to clean, and dishwasher-safe. Quiet, efficient, and always in the sink because I use it daily.

Fat Daddio’s Baking Pans
If you bake often—or want results that feel professional—this is one of those behind-the-scenes tools that quietly upgrades everything. It heats evenly, releases cleanly, and doesn’t warp or flake, even with years of use.
Yes, it’s aluminum—but not the kind you worry about. This one is anodized, which means it’s sealed, non-reactive, and completely safe to use, even with high heat or acidic ingredients. No leaching, no weird flavors, no coatings to chip.
It’s what many pastry chefs use in their own kitchens. Lightweight, durable, and built to last.
The marbling is so pretty!